General Integration Instructions
Only users who are assigned a Role with Integrations Management permissions can connect partner integrations. See Edit Dairy User Permissions and Manage Dairy Roles for more information.
All available VAS PULSE integrations are available from the Integrations Gallery. Steps to connect specific integrations vary by partner and are shown on the right side of the Partner Integration Details page.
The general steps for connecting a partner system with VAS to allow data to display in PULSE are as follows:
Contact your partner company representative to enable the integration with VAS and complete any required setup from their system.
For data to be sent to PULSE (and DC305 for DairyComp Unlimited dairies), you must first identify the pens the integration applies to, as well as add new items or configure existing items to map to the partner's data points.
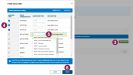
- In PULSE, navigate to Partners > Integrations Gallery and locate your partner company.
- Click See Requirements.
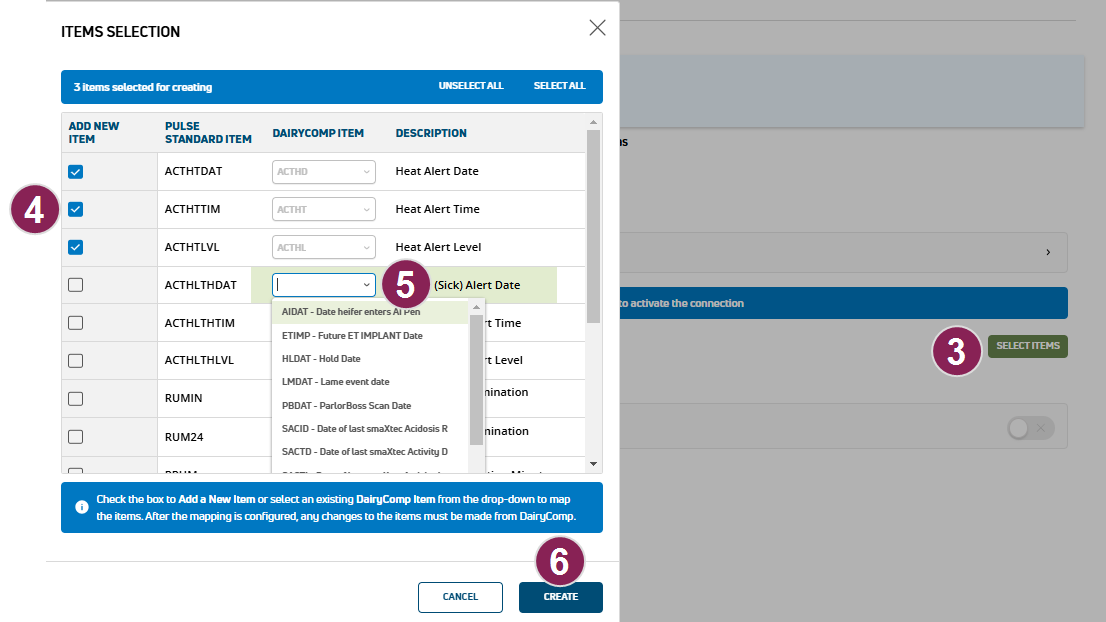
- Click Select Items to begin adding new items or mapping to existing items.
- Check the boxes to add new items to your dairy for the specific data you are connecting to PULSE.IMPORTANT: Select items for mapping carefully. If you make an error and need to change your item configuration, you will need to correct the items in DC305
 DairyComp 305 - VAS Dairy Management Software (for DairyComp Unlimited dairies) or contact VAS Support.
 - If you have an existing DairyComp item you'd like to use, select it from the DairyComp Item drop-down.
- Click Create or Done in the bottom right corner to finish adding and/or mapping your items.
- Confirm the addition or mapping of your items and click Save.
Follow these steps to establish the connection to the partner system:
- Click the Connection Status toggle and verify the status switches to Active.

- If necessary, click Edit Integration to make any adjustments or edits and save your changes.
